We have a lot of evergreen content on Lullabot.com that receives lots of search traffic. Some of our top-performing articles are six years old. This is great. It validates our expertise, and we are happy to fill content gaps that might not be covered adequately on the web, following our "Collaborate Openly" value.
However, successful old content poses a problem for analytics. It's harder to create simple reports to see how newer content is doing. If we want to see the top new content for the past year, we have to filter out the old content from the lists to make it easier to read. The easiest way to do this would be to only show everything published after a specific date.
There's one problem. Google Analytics does not include a "publish date" in the data it collects by default.
Here's how we added it.
Google Tag Manager and the data layer
First, you must be using Google Tag Manager. Using tag manager is the preferred method for installing Google Analytics 4, and we'll use it to configure our new data. What is the data layer? From Google's documentation:
The data layer is an object used by Google Tag Manager and gtag.js to pass information to tags. Events or variables can be passed via the data layer, and triggers can be set up based on the values of variables.
There are many ways to send an article's published date to Google Tag Manager, but the data layer is the most robust and straightforward.
Here's a simple script example that would go in the <head> section of a page:
window.dataLayer = window.dataLayer || [];
window.dataLayer.push({
	“publishDate”:”2025-01-20”,
	“mainTopic”:”accessibility”
});
If you're using Drupal, the dataLayer module exposes several attributes of the page by default, like the language, entity type and bundle, and attached taxonomy terms. (WordPress also has several plugins you can try.) The module also makes it easier to add additional via field values or in a custom module with hook_datalayer_alter().
In fact, to add the publish date in the correct format, we'll need to use that hook.
/**
 * Implements hook_datalayer_alter().
 */
function mymodule_datalayer_alter(&$data_layer) {
  if (!is_array($data_layer) || !isset($data_layer['entityBundle'])) {
    return;
  }

  $route_name = \Drupal::routeMatch()->getRouteName();
  if ($route_name !== 'entity.node.canonical') {
    return;
  }

  $node = \Drupal::routeMatch()->getParameter('node');
  if ($node instanceof NodeInterface && $node->bundle() === 'article' && $data_layer['entityBundle'] === 'article') {
    $published_date = \Drupal::service('date.formatter')
      ->format($node->getCreatedTime(), 'custom', 'Y-m-d');
    $data_layer['publishedDate'] = $published_date;
  }
  else {
    $data_layer = [];
  }
}
You might need to tweak this for your specific needs.
We check the route because we don't want stuff injected into the data layer for an article if the article is displayed as a promo or a teaser on a listing page. We only wish to inject the published date on the article's canonical URL.
Also, notice the format of the date, which is Y-m-d (e.g., 2025-01-17). We don't want to use a timestamp because it makes filtering more difficult for the reports we want to create. Google also recommends against using data that is too unique in a custom dimension (what they call high-cardinality custom dimensions) because it can fill your datasets with too much noise.
Note: If you end up using the Drupal module, be sure to apply the patch here to ensure the data layer snippet is placed in the <head> tag of your pages.
Next, we need to create a custom dimension in Google Analytics that will hold his data.
Creating a custom definition for custom properties in the data layer
- Go to the Admin section of Google Analytics for your property.
- Under Data display, select Custom definitions.
- Click Create custom definition.

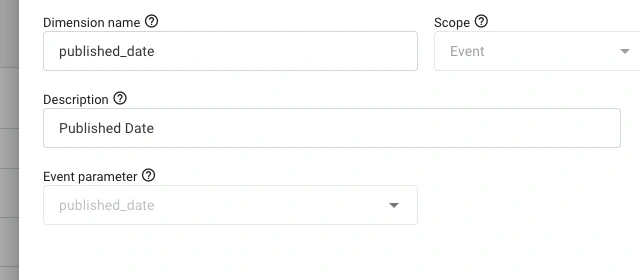
Your scope should be Event, and name your dimension something descriptive. We've gone with "published_date." Make the Event parameter something similar, as we'll use that in our tag configuration later.
Your custom definition should look similar to this after it's created:
Now, we need to go back to Google Tag Manager.
Set up your tag in Google Tag Manager to grab the data layer property and send it to Google Analytics
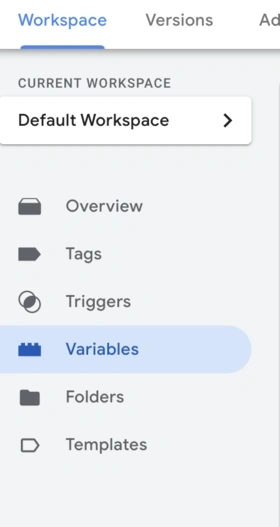
First, let's create a variable in Tag Manager to hold the published date. In the sidebar, click on Variables.
In the User-Defined Variables section, click the New button.

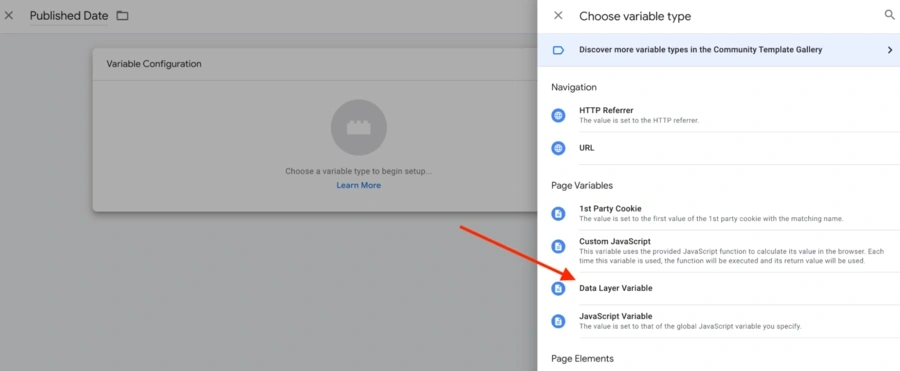
Give it a descriptive name like "Published Date." Click on the Variable Configuration box to choose a variable type. We want Data Layer Variable.
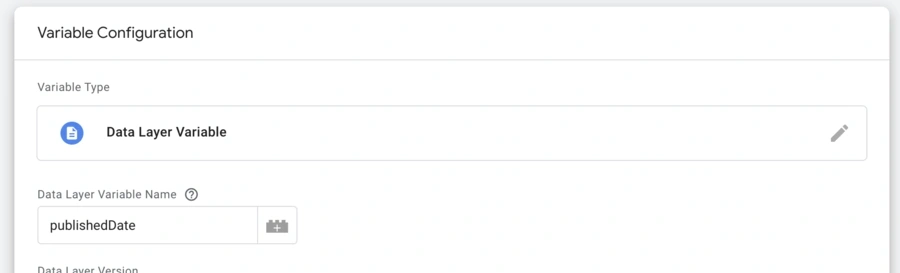
For Data Layer Variable Name, put the exact name you use on your website. In our case, this would be publishedDate, which we used in the hook above.
We have the variable. Now, we need to send it to Google Analytics. Edit your Google Analytics 4 configuration tag. Yours might be named differently, but it will look similar to the image below:
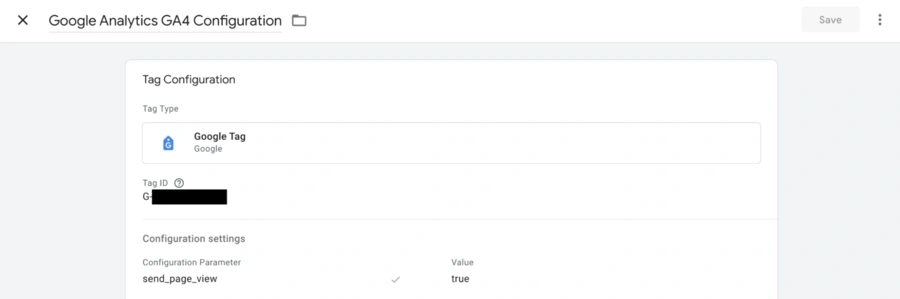
Edit the tag configuration. Under Shared event settings, add an Event parameter that matches what you put in the custom definition. For the Value, click the brick icon to find the variable you just created.

You are now sending the published date to Google Analytics.
Verifying the data
Let's go back to the Admin->Data Display section of your Google Analytics 4 property. Now, choose DebugView.
Open another browser window and visit Google's Tag Assistant tool. Add your domain, check the option to include the debug signal in the URL, and start browsing the pages that should have the new data layer variable.
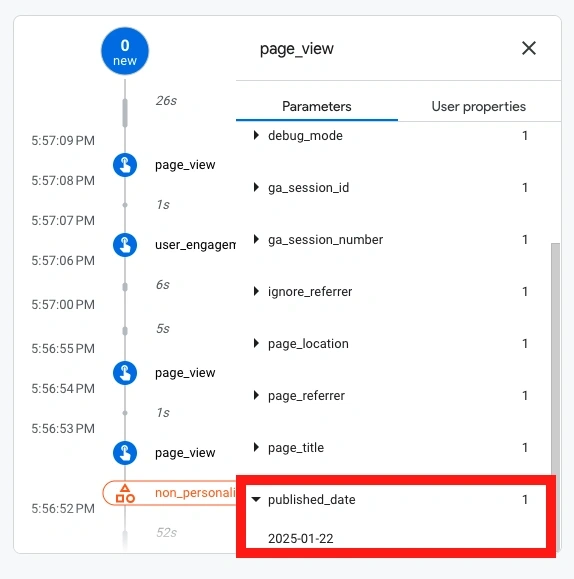
Return to the DebugView window and look for the page_view event you want to check. Scroll down to find the new "published_date" parameter and see if it is populated with the correct data. It should look similar to the image below.
Create your reports and explorations
You can now add this custom dimension to your explorations in Google Analytics or Looker Studio and sort and filter by it. Filtering by year is easy with a "begins with" condition, though a regex condition is required for more advanced filtering, such as viewing articles from a particular quarter.
The published date will not appear retroactively for previous analytics events. We haven't solved time travel yet. However, you're now equipped to run more granular reports in the future.